In the podcast:
01:12 – Why do you need to set up tracking
02:37 – Step 1. Create Facebook account
03:08 – Step 2. Install Facebook pixel
04:24 – How to install facebook pixel
05:01 – Step 3. Setting up conversion tracking
05:21 – What is a conversion tracking?
05:57 – How to set-up conversion tracking
06:45 – Create Custom Audiences (Remarketing Audiences)
07:42 – Engagement audience
07:53 – Website custom audience
08:01 – Master Audience
08:23 – Lookalike Audience
09:30 – Facebook pixel helper plug-in
Setting up the proper tracking is so important and confuses everyone. So, in this episode, we go through exactly what you need to do to set up the right tracking when running Facebook ads
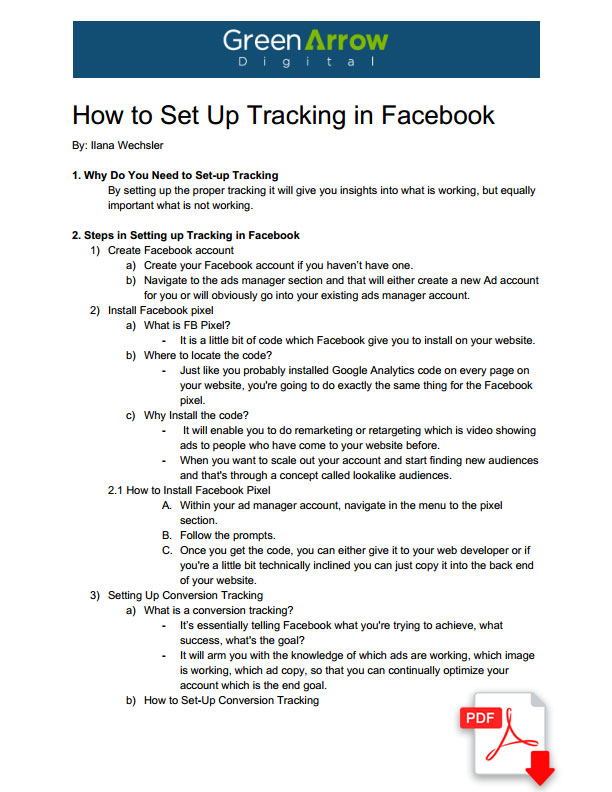
Download How To Set Up Tracking in Facebook in PDF
I am super excited to be sharing this article with you today, because if you’ve run any kind of Facebook ads in the past then chances are you’ve struggled or dabbled or attempted to set up the appropriate tracking.
Setting up tracking in Facebook ads is probably one of the most asked questions I get asked by either clients or students of mine in our PPC Academy so I thought let’s do an article on this and we can answer everyone’s questions.
So before we get started into the nitty-gritty on exactly what you need to set up in terms of tracking your Facebook ads, the first question you might be wondering is why do you need to set up such tracking? And I’ve had many clients ask this from me. They say to me “why do I need to set this up. The leads are coming through anyway. What’s the point of this?” And the answer is that by setting up the proper tracking it will give you insights into what is working, but equally important what is not working.
For example it will tell you which ad copy is doing better than other ad copy which image is working better and which targeting is doing better than other kinds of targeting which will lead you to do more of hopefully what is working and less of what is not working. So yes the leads will be coming to you regardless. But this is kind of where you choose your account and reallocate budget away from what is not working and put towards more of what is working.
Following the guide below will help you when you start running ads for yourself. So let’s get started.
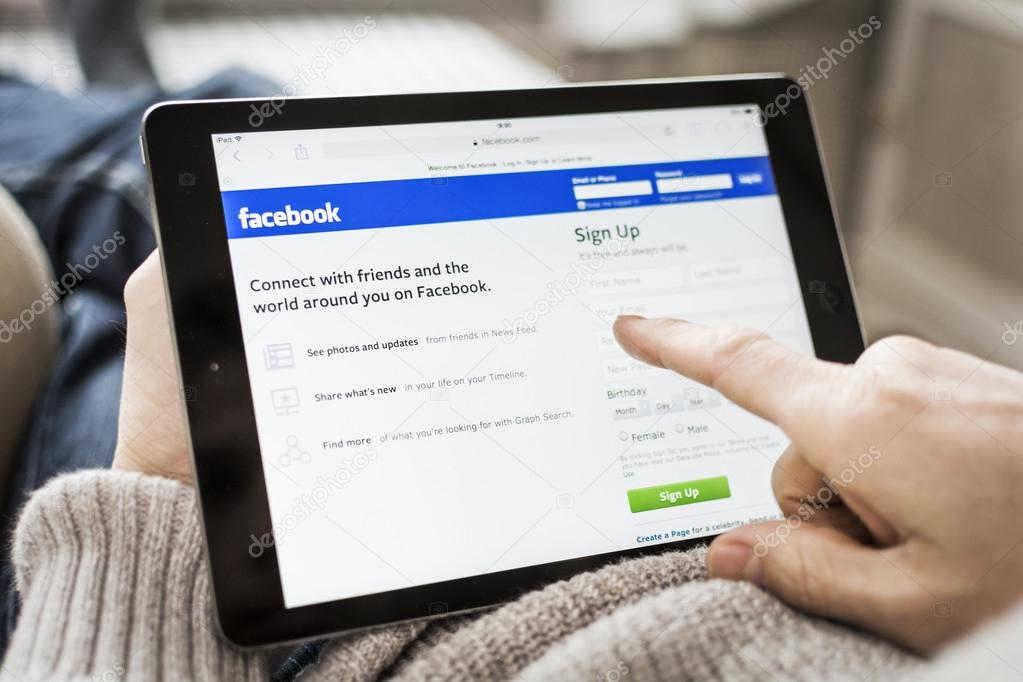 1. The first thing you need to do obviously is you need to create your Facebook account. If you’ve never run any kind of Facebook ads before then by merely having a Facebook account or a Facebook profile you are allocated an Ad account. So although Facebook are always changing their interface you basically navigate to the ads manager section and that will either create a new Ad account for you or will obviously go into your existing ads manager account.
 2. Now that you’ve created your Ad account, next is to install the Facebook pixel. Now if this is completely brand new to you, you may have seen prompts for it in your Ad account already. But essentially every Ad account is allocated one Facebook pixel and it’s a little bit of code which Facebook give you which you install on your website.
So just like you probably have most likely installed Google Analytics code on every page on your website, you’re going to do exactly the same thing to the Facebook code. And the reason you want this code is because it is going to enable you to optimize as we’ve just spoken about.
It’s going to enable you to do remarketing or retargeting which is video showing ads to people who have come to your website before. But the third real benefit of the pixel is, when you really want to scale out your account and start finding new audiences and that’s through a concept called lookalike audiences which is beyond the scope of this article but we will no doubt be talking about that.
So it is crucial for you to install this Facebook pixel. What you need to do is within your ad manager account navigate in the menu to the pixel section. It’s pretty self-explanatory what you have to do. You just follow the prompts. It will spit out some code for you to either give to your web developer or if you’re a little bit technically inclined you can just copy it into the back end of your website and you are a way to go. It’s only something that you need to do once and once you’ve installed it you’re a way to go.
 3. All right step number three is setting up what’s called conversion tracking. So if this sounds completely brand new to you and you don’t know what I mean when I say conversion tracking it’s essentially telling Facebook what you’re trying to achieve. What success, What’s the goal?
So a classic example might be for an e-commerce store they’re trying to generate purchasers. So anybody who purchased a product would be a conversion of it. I guess it’s kind of the lingo that’s used in the industry. So contrary to what you might think by running ads that conversion tracking is set up by the mere fact that you’re running ads, well this is not in fact the case you need to manually set-up conversion tracking. And this will arm you with the knowledge of which ads are working, which image is working, which ad copy, so that you can continually optimize your account which is the end goal.
Similarly to how you navigated to the pixel section in your ads manager account there is a completely other section or custom conversions. Go to the menu again and you go to the custom conversions section and you need to set up conversion tracking.
 4. The last thing that you need to do to ensure that you have set up your Facebook ad correctly before you even start running some ads is to create some audiences. And audiences are as they may sound, who you’re going to be showing your ads to. And if you’ve brand new to Facebook ads and you’ve never run an ad before often the best place to start is to show ads to people who already know you.
To some degree this might be the people who already like your Facebook page or if you’ve got a database of people you can upload that database to Facebook to show those ads to those people.
The best audiences we find are what’s called remarketing audiences. So showing ads to people who have come to your website before. And as you know you’ve installed the pixel now. So now you need to set up those audiences so that they’re automatically put into an audience and you can show them ads.
Like the custom conversion section and the pixel section you have to navigate to your audience section within your ads manager account and need to manually create these audiences.
When you navigate to this section in Facebook you click on Create a custom audience and there you have the option of choosing lots of different types of audiences. It might be what’s called an engagement audience which is anybody who has engaged with your Facebook page in some somewhat or perhaps watch some of your videos or you can choose a website custom audience which is a remarkably audience.
We can actually create lots of different types of audiences. One of the main remarketing audience we will create is a list of people who has the maximum allowable time that they’ve been on our website, so we create what’s called a master audience. Everyone who’s come to our website in the last 180 days, now we probably won’t be using this audience to show ads to later on in another article. We’ll talk about what’s called lookalike audiences.
We will create a lookalike audience of that particular audience. Will also create another audience of the people who have converted because we want to exclude these people from our marketing lists. The classic kind of mistake people make is they show ads to people who have already purchased or already contacted you and wouldn’t want to do that.
So we create a separate list of people who have done what we want them to do so we can stop showing them ads and we’ll also create remarketing audience of people who’ve come in the last 7 days, 14 days, 30 days etc. etc..
This is only something you need to do once. And so this is why it’s essential to do really. Before you start generating any ads because these audiences will start populating automatically.
I hope you found all this information helpful. If you’re unsure whether your tracking has been set up properly there’s a little cruder plug in which is free that you can install on your browser. It’s called the Facebook pixel helper and you can then check to see if your Facebook pixel is firing and working correctly. So I highly recommend you install this free plug in. It’s called the Facebook pixel help and it will really help you debug and troubleshoot if there are any issues with your pixel.